For a few years now, I’ve been thinking about the idea of jewellery that was made from
industrial materials instead of precious metals and flawless, cut gemstones. I wondered what it
would be like to see a rough, industrial diamond set in an iron or steel ring. From a cost perspective,
you could have a diamond many times larger than what the average person would be able to afford if it
were a jewellery grade stone. With our upcoming wedding in June, I offered to make a ring for my fiancee
but she didn’t fancy the idea of a rusty, jagged piece of industrial metalwork so I settled for
making one for myself.
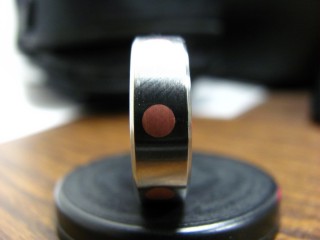
After doing some research on different metals, I decided to go with a ring made from 316L stainless
steel and C145 tellurium copper. This steel alloy is commonly used in jewellery due to its corrosion
resistance and I chose C145 copper because of its machinability.
The design will be a simple steel band with seven copper inserts evenly spaced around the
circumference.
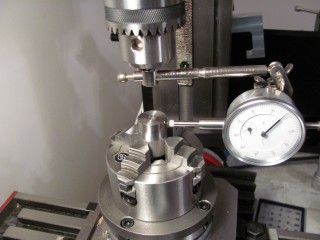
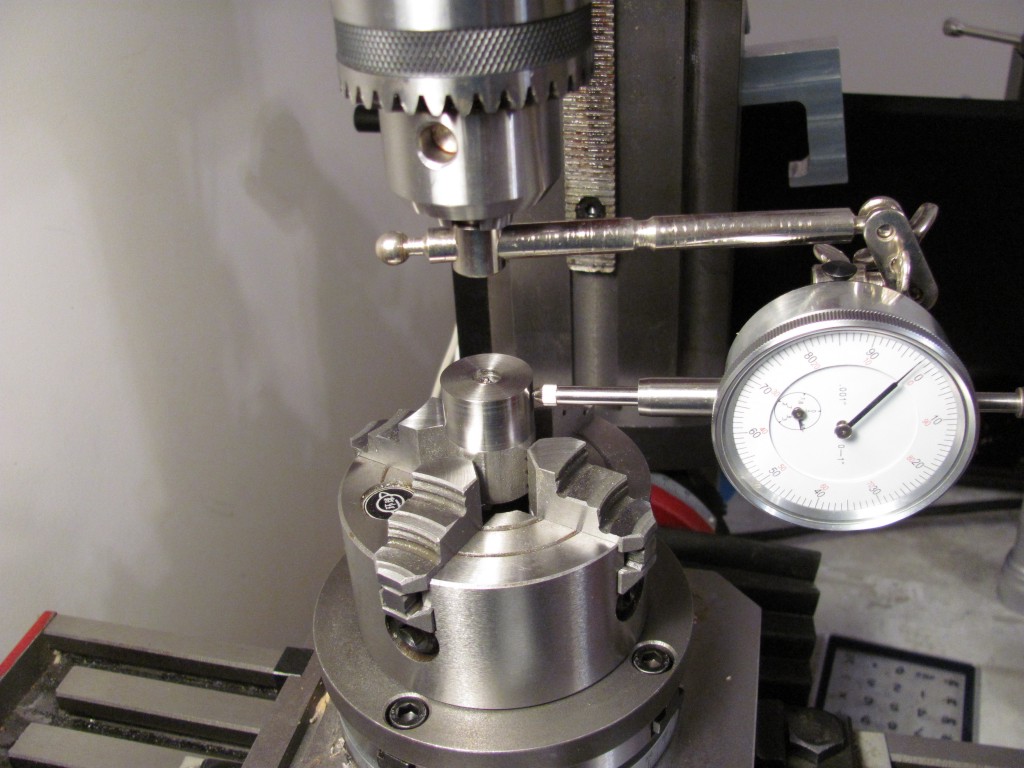
Centering stock on rotary table with dial indicator
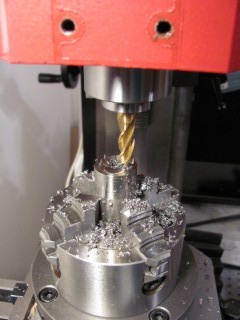
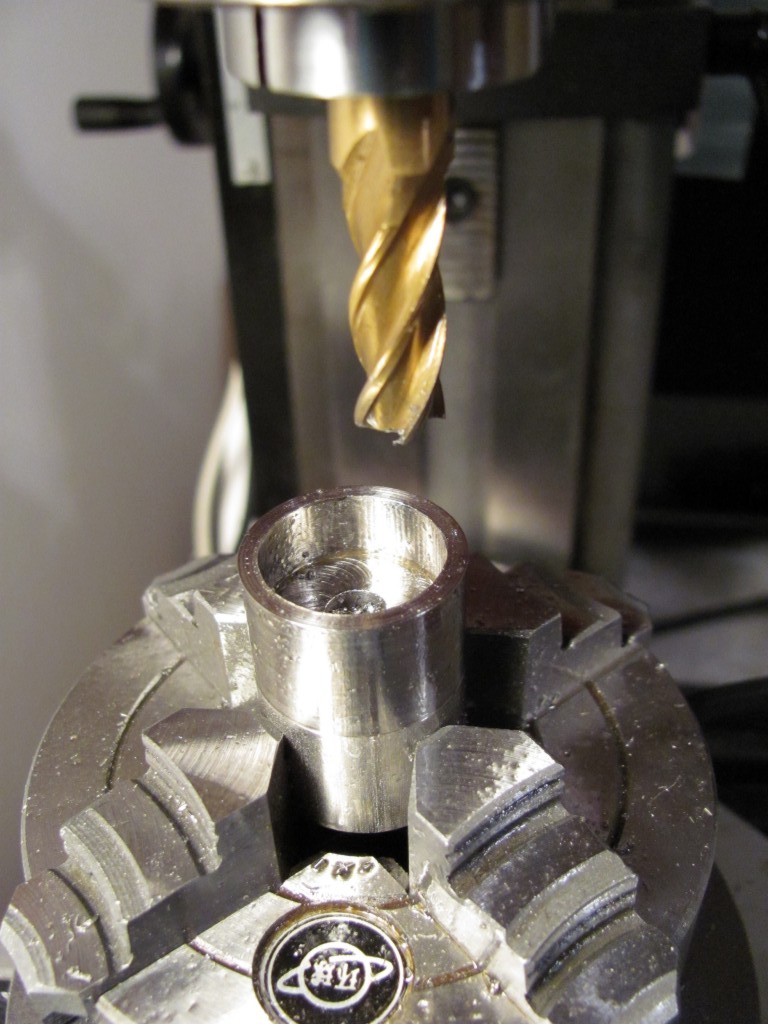
My mini lathe is too feeble to drill a big enough hole for the boring bar...

...So I made several plunges with an endmill while rotating the table in between plunges

Rotary table mounted on its side

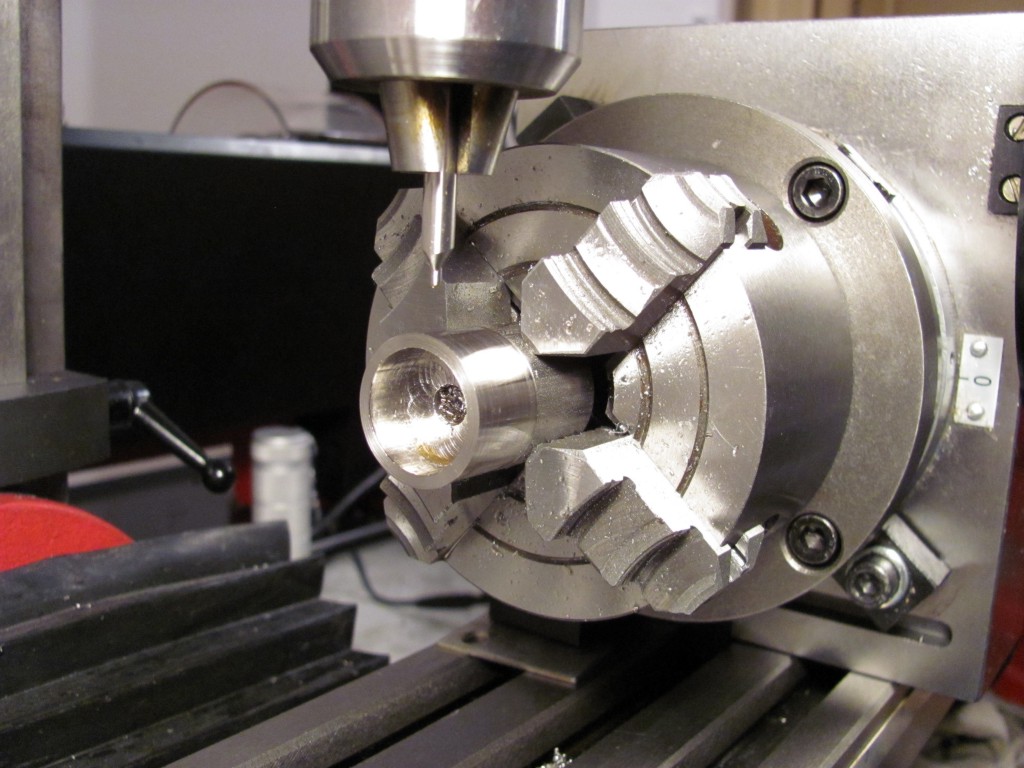
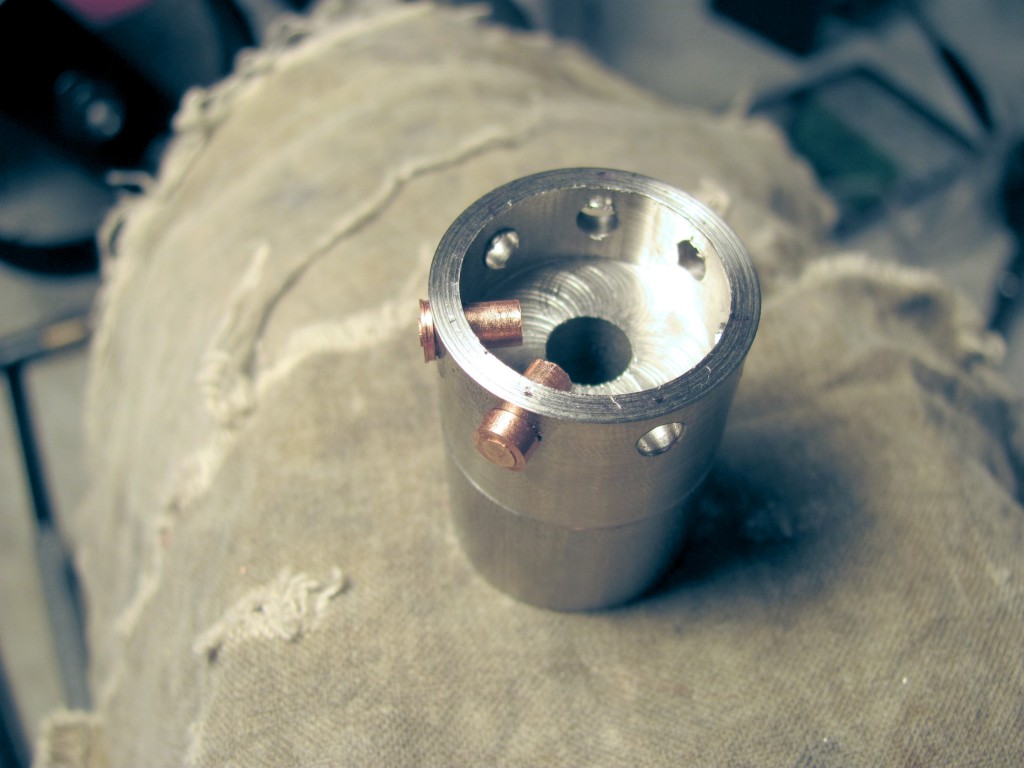
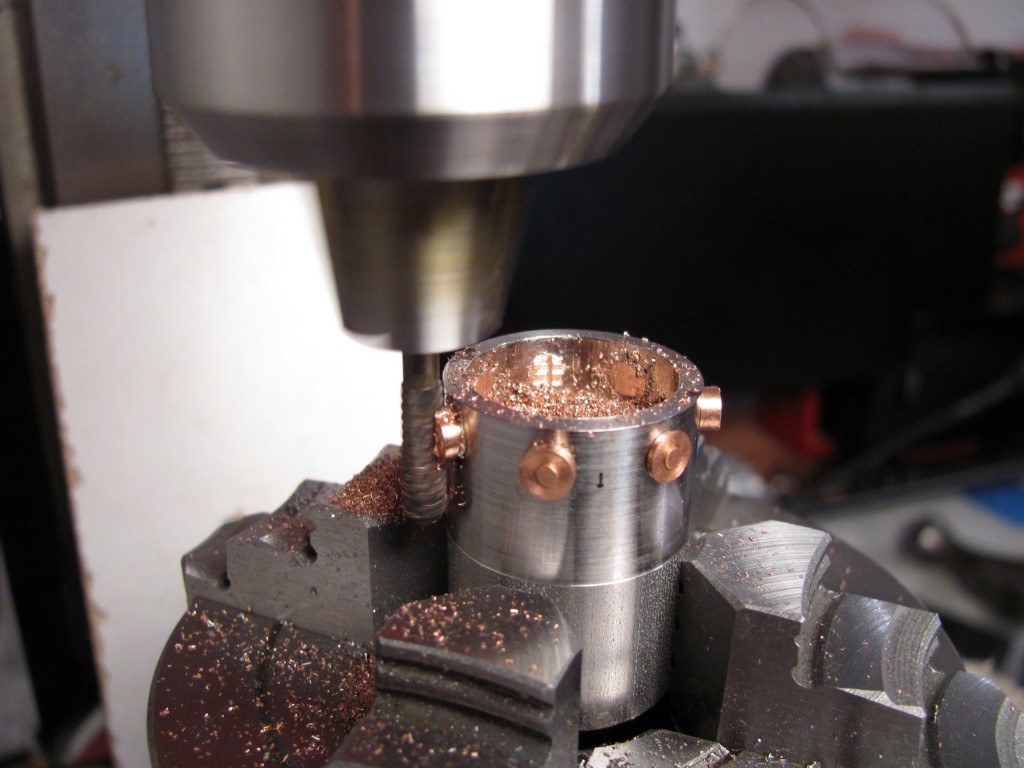
Seven 0.125" holes were drilled around the circumference
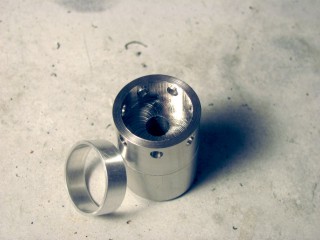
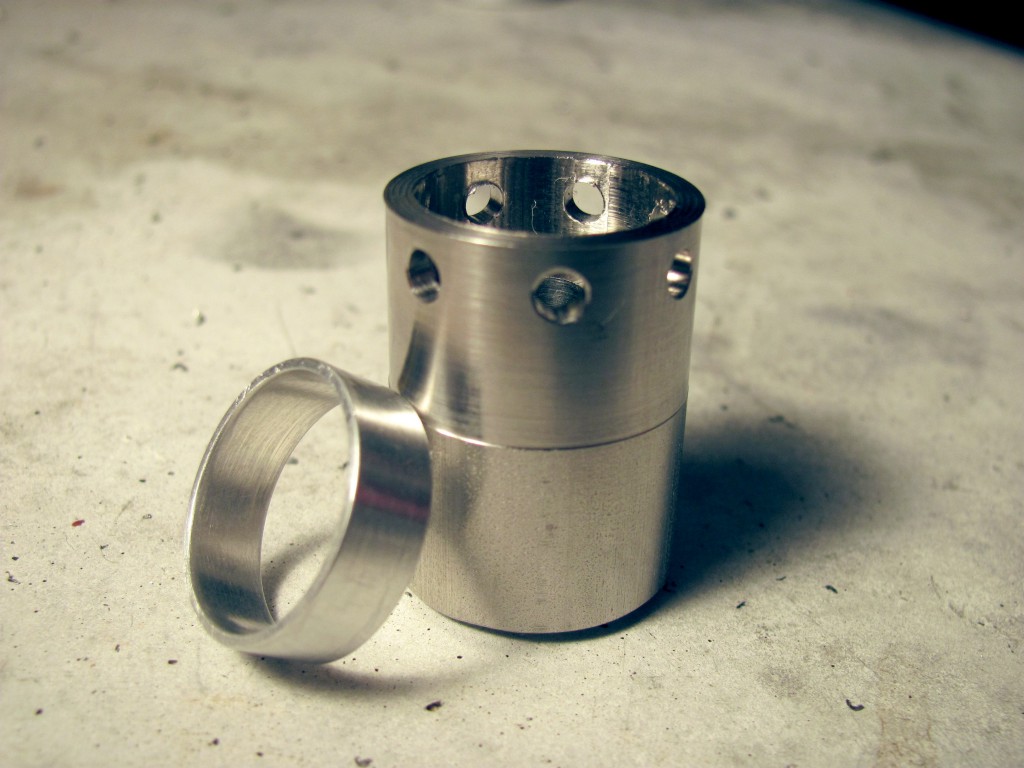
Next to it is an aluminum test ring I made to get the right size for my finger
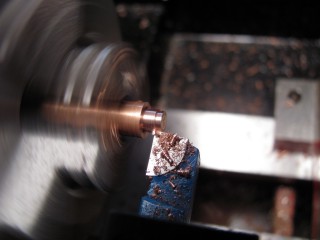
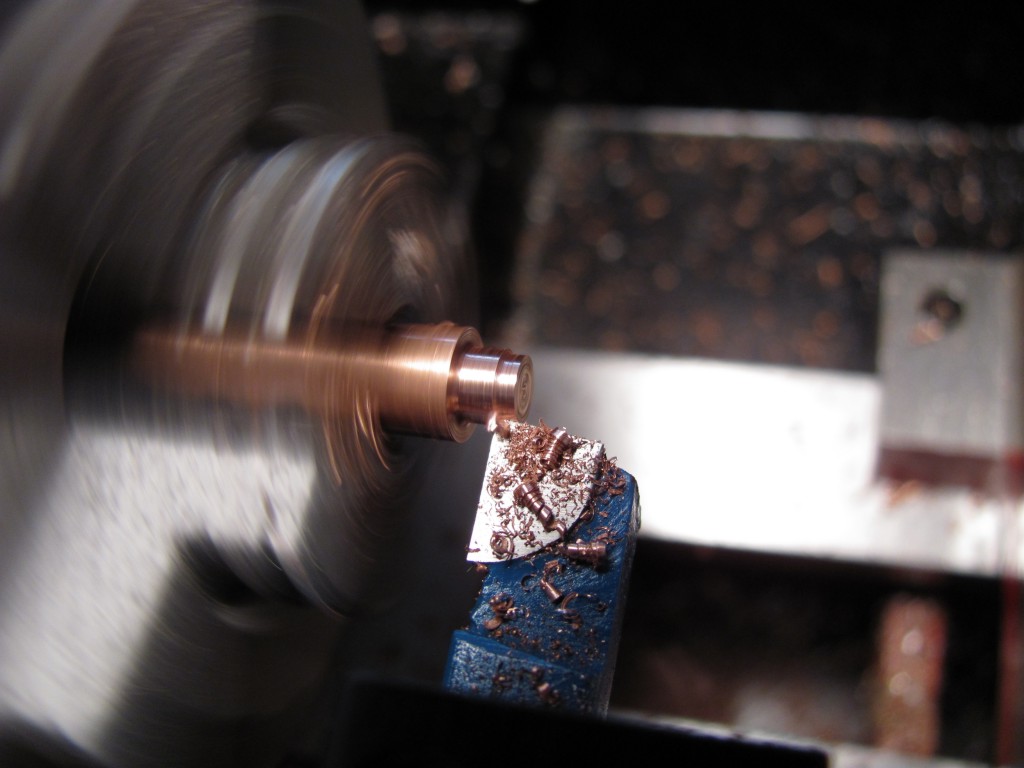
Turning the tip of the copper plugs to a sliding fit

...but the rest is 0.001" bigger for a "hammer" fit

Test fitting one of the plugs

Plugs are then hammered in place

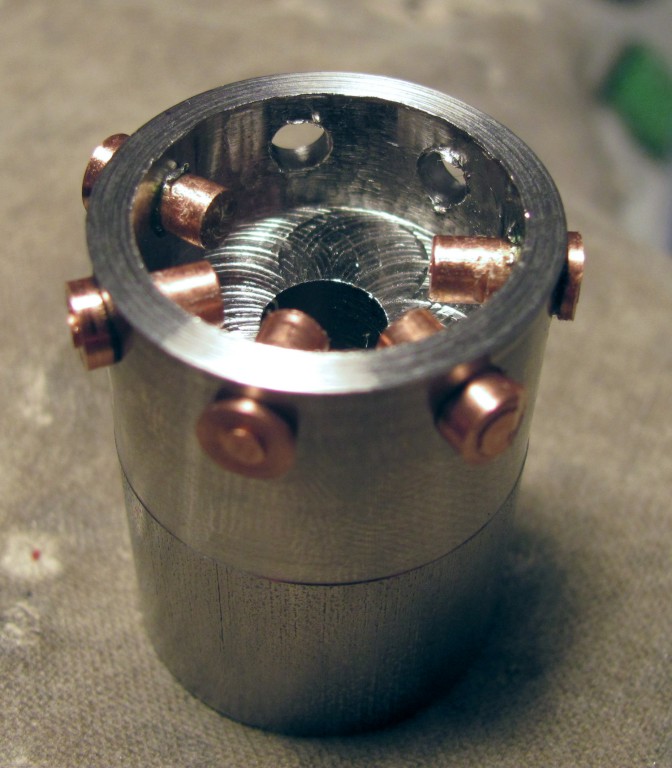
Five plugs in place

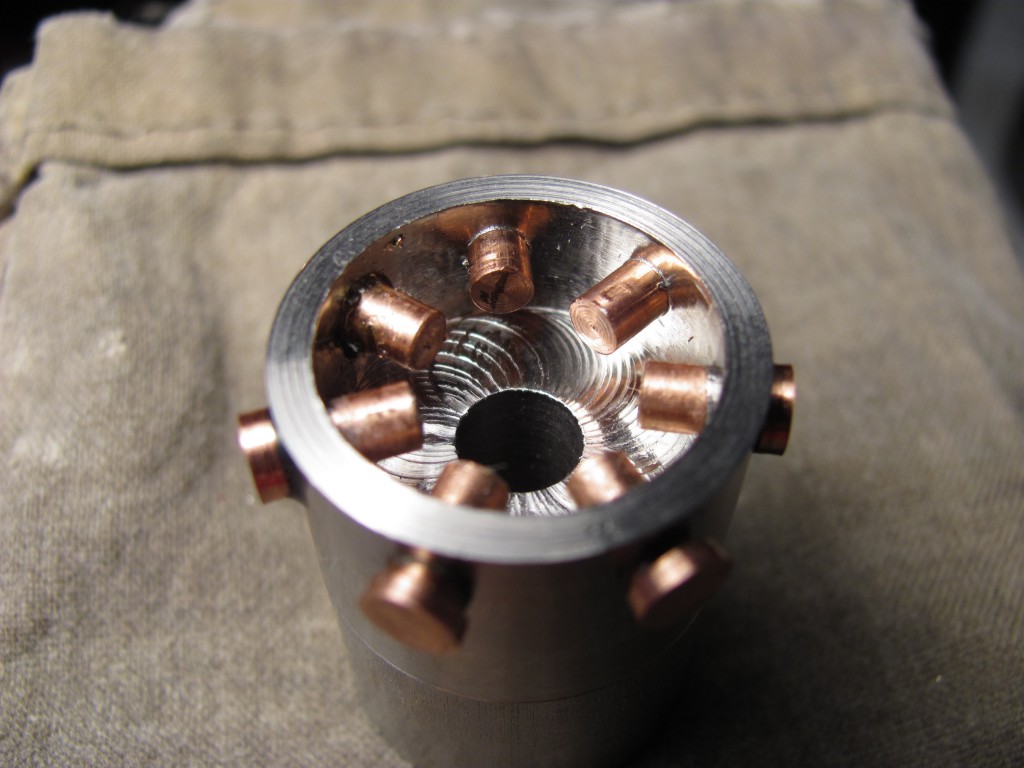
Seven plugs in place
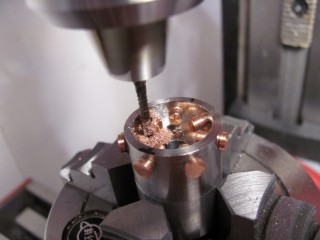
A carbide Dremel bit is used to remove the excess copper
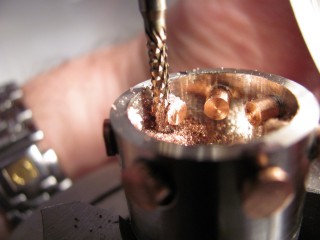
...From the inside...

...And the outside
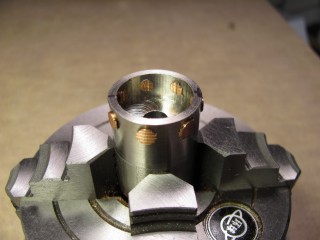
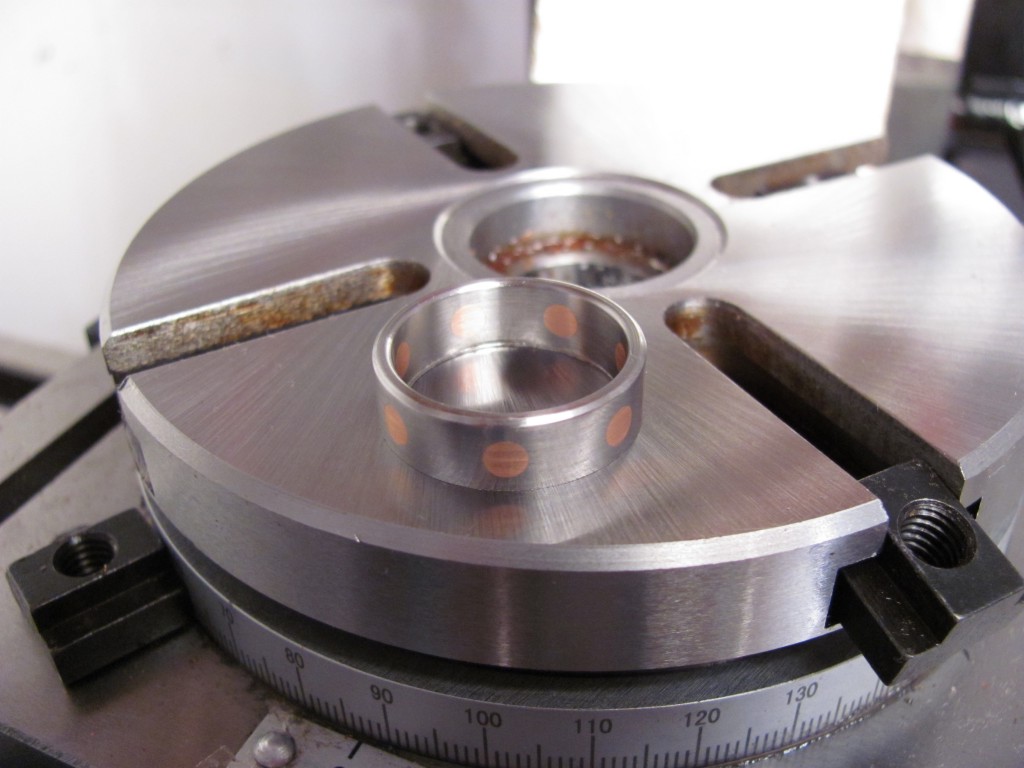
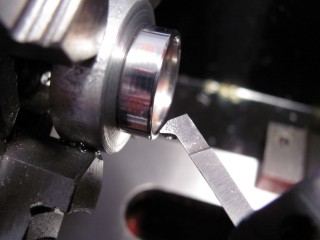
The rest of the copper can now be removed with the lathe
After cleaning up, but before chamfering

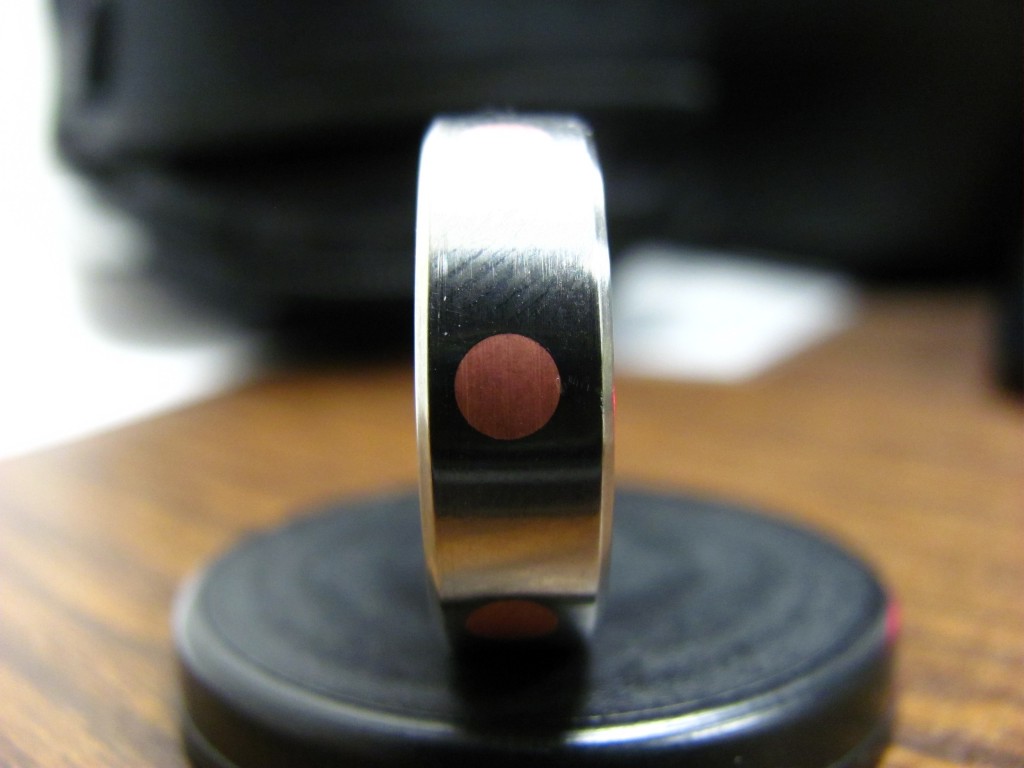
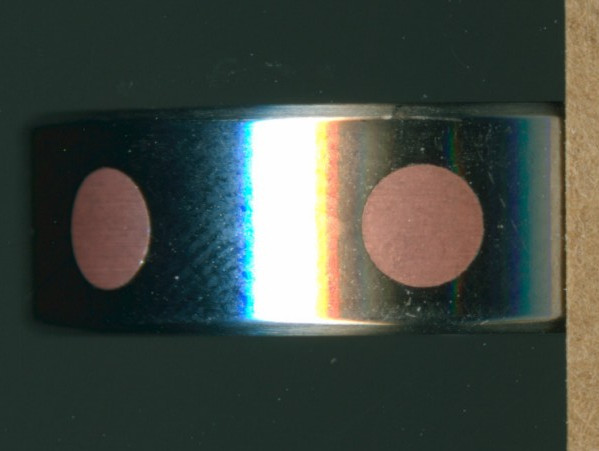
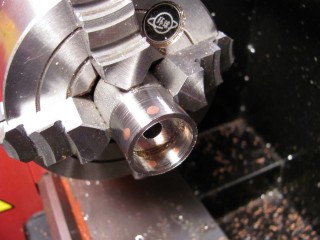
After parting off the ring, I noticed a problem...
The copper plugs were not centered within the band
Measuring the offset with calipers wouldn’t be very accurate

So I scanned the ring with a flatbed scanner and counted pixels

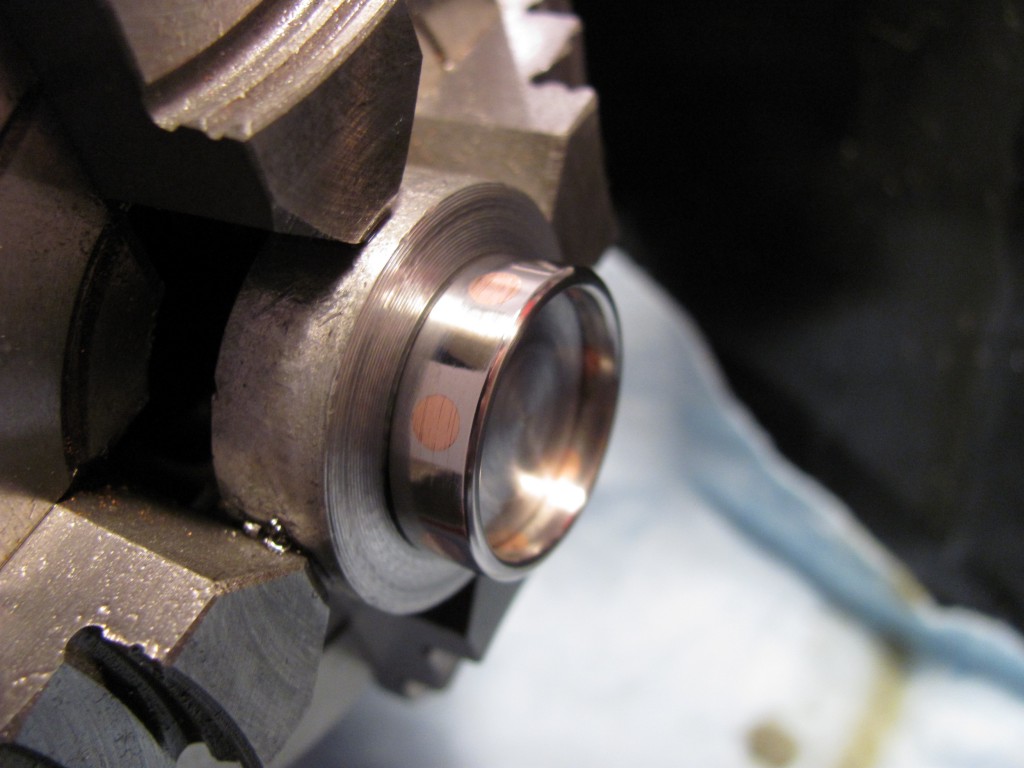
Then I made a mandrel to hold the ring in the lathe again
I then turned one side down a bit and re-chamfered the edges
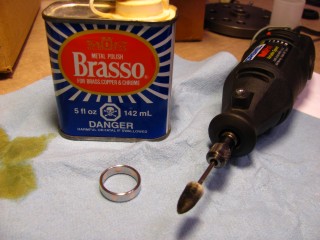
Finally, I polished it with Brasso and a Dremel with a felt tip
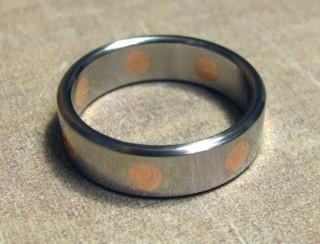
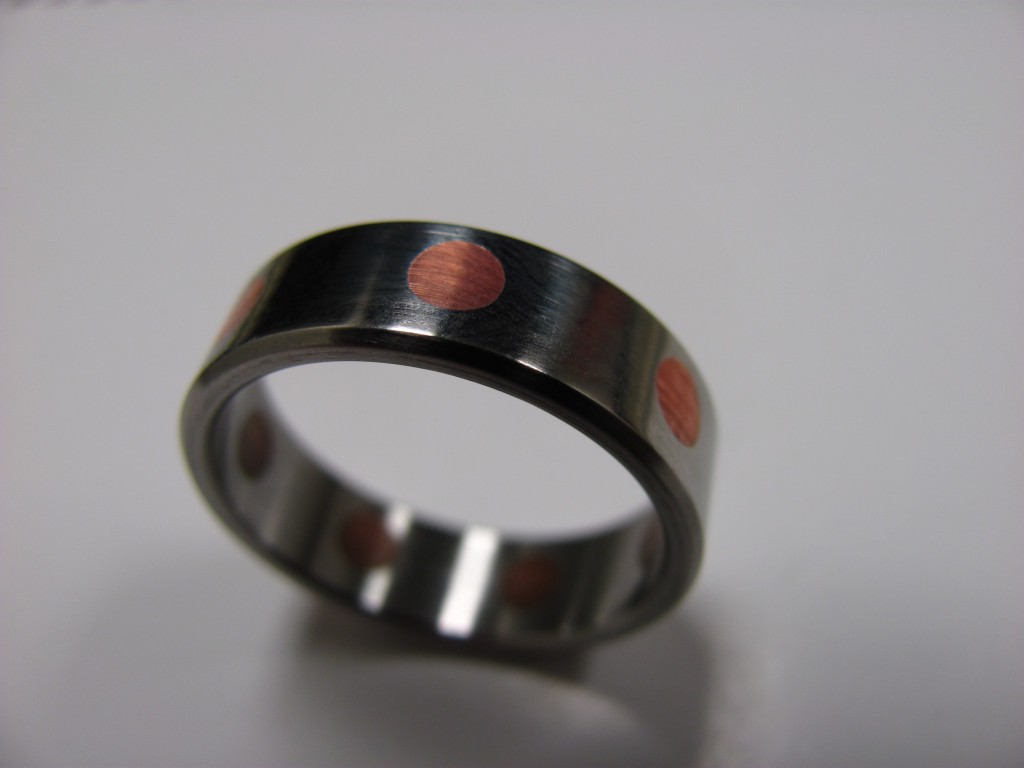
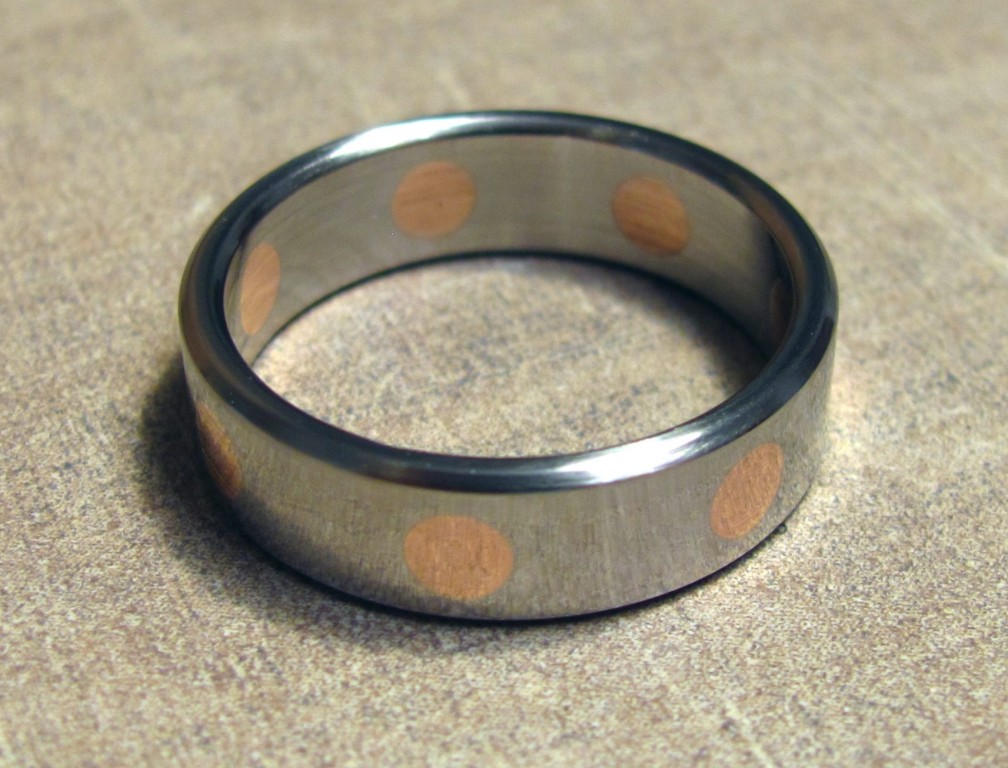
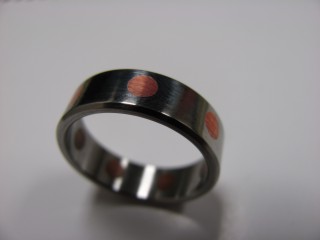
The finished ring

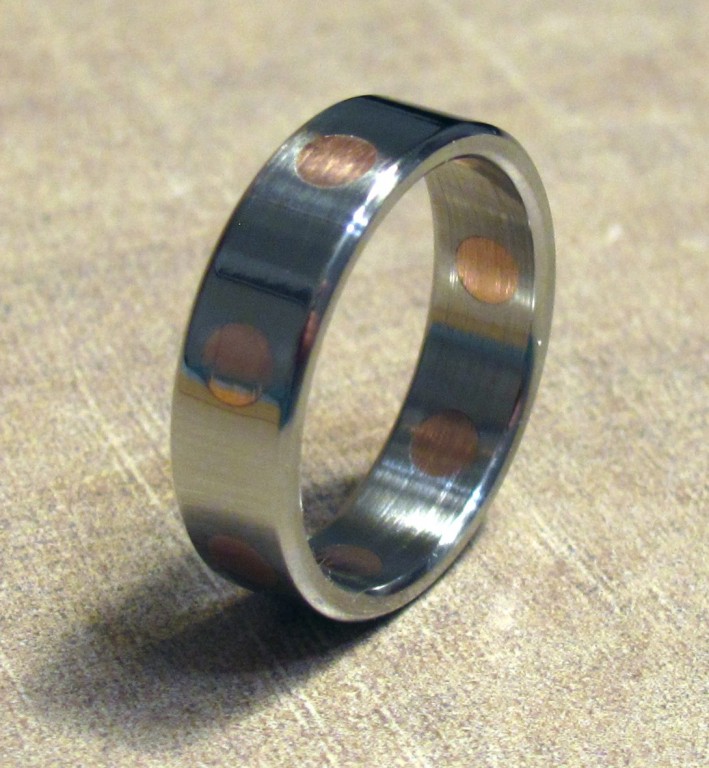
Finished ring, second view
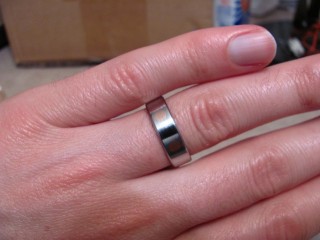
Finished ring, installed.