The last two images in the gallery above are vector files that you can use if you have access to a CNC cutter, or you could even just print them out and use them as a template for cutting a cover by hand. To get the correct scale, make sure the height of the cover and spacer is 68.072mm. If you prefer, you can also download this PDF file.
Apron Chip Cover
My mini lathe came with a sheet metal cover over the leadscrew which was designed to keep swarf from fouling the leadscrew and half nuts. Ironically, although this addition may have kept the leadscrew clean, it ended up just deflecting more debris into the apron gears. On a couple of occasions, the problem became bad enough that I was motivated to do something about it, so I made an apron cover out of sheet aluminum.
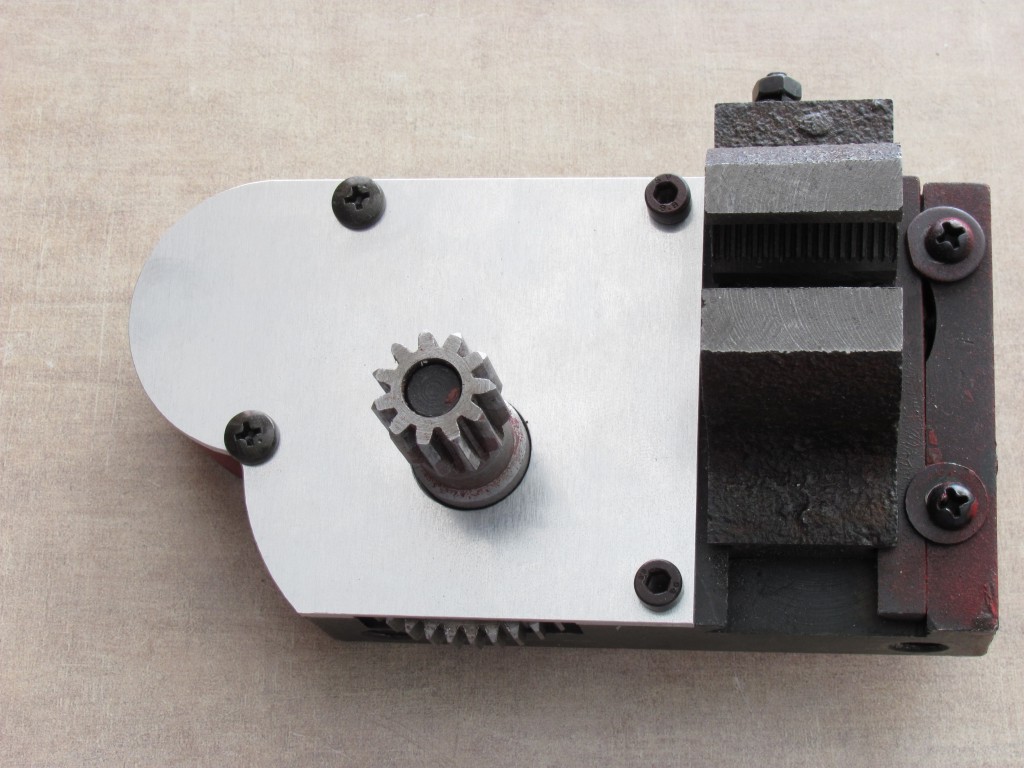
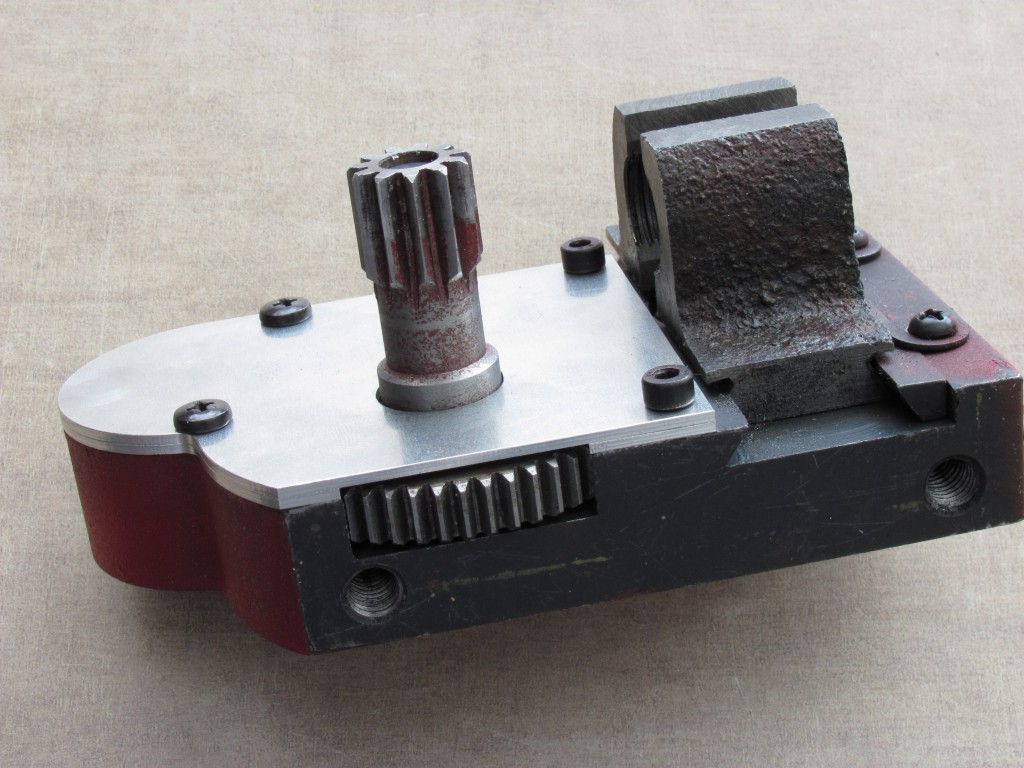
On my machine (and I suspect many others), the large end of the pinion gear was a bit thicker than the recess in the cast iron apron, so just making a simple flat cover wouldn’t work because it would bind against the gear. One solution would be to use the lathe to face down the gear a bit, but I decided to make a spacer and cover out of sheet aluminum. I’m lucky to have been able to use the CNC cutter at my work for this, but in reality, an equally effective cover could be made with basic hand tools since none of the dimensions are that critical.
To get the size and shape right, I took a photo of my apron, trying to make sure the camera was facing perpendicular to the face of the apron so as to minimize any distortion in the image. I then measured the apron with a ruler so I could scale the photo to the right size. After that, I traced the outline with CorelDRAW and created a vector file for the CNC router.
Three holes were drilled and tapped into the apron (a fourth hole already existed which I just incorporated into my design). The locations of the new holes were added to the vector file before sending to the CNC cutter. Then it was a simple matter of using a transfer punch to locate the holes on the apron. I’m not sure what the exact thickness of the aluminum was, but I think it was around 1.6mm or 0.064".
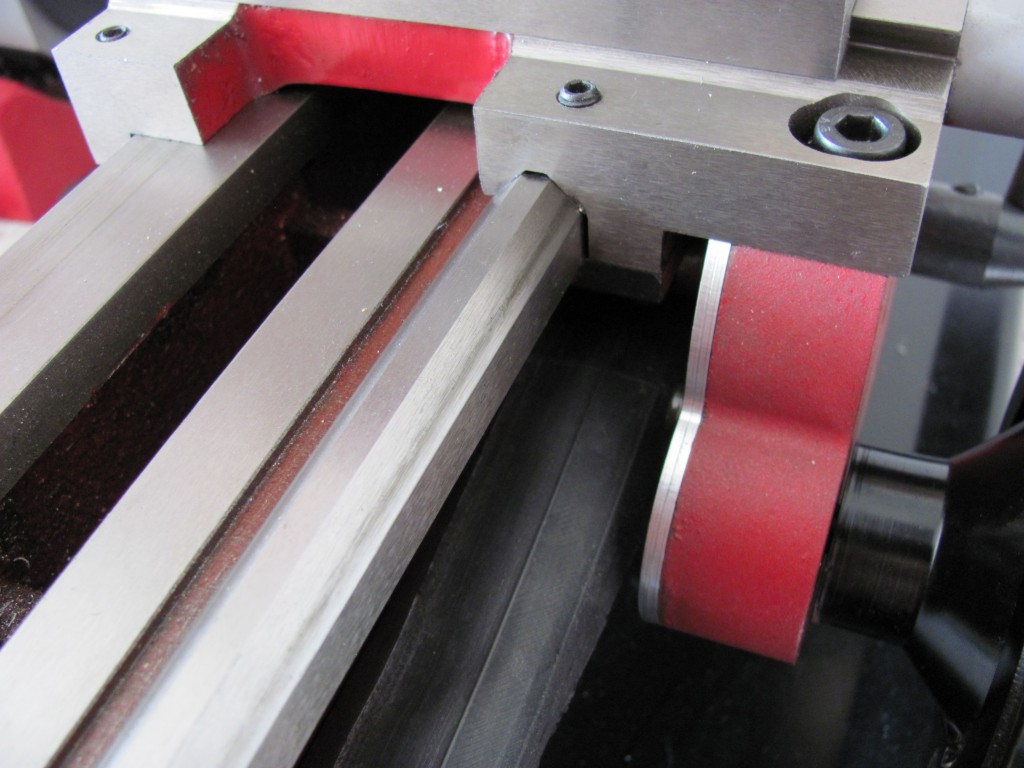
One problem I encountered was the limited clearance between the apron and the leadscrew chip guard. After I added my aluminum cover, the apron would no longer fit, so I replaced the leadscrew guard with a strip of bicycle inner tube (and later with a strip of leather). The new flexible leadscrew cover had the added benefit of allowing me to upgrade to a proper half nut that grips the leadscrew from above and below. (My lathe came with only "half" of a half nut which engaged from below, then there was just a simple "hook" that went over the top of the leadscrew.)
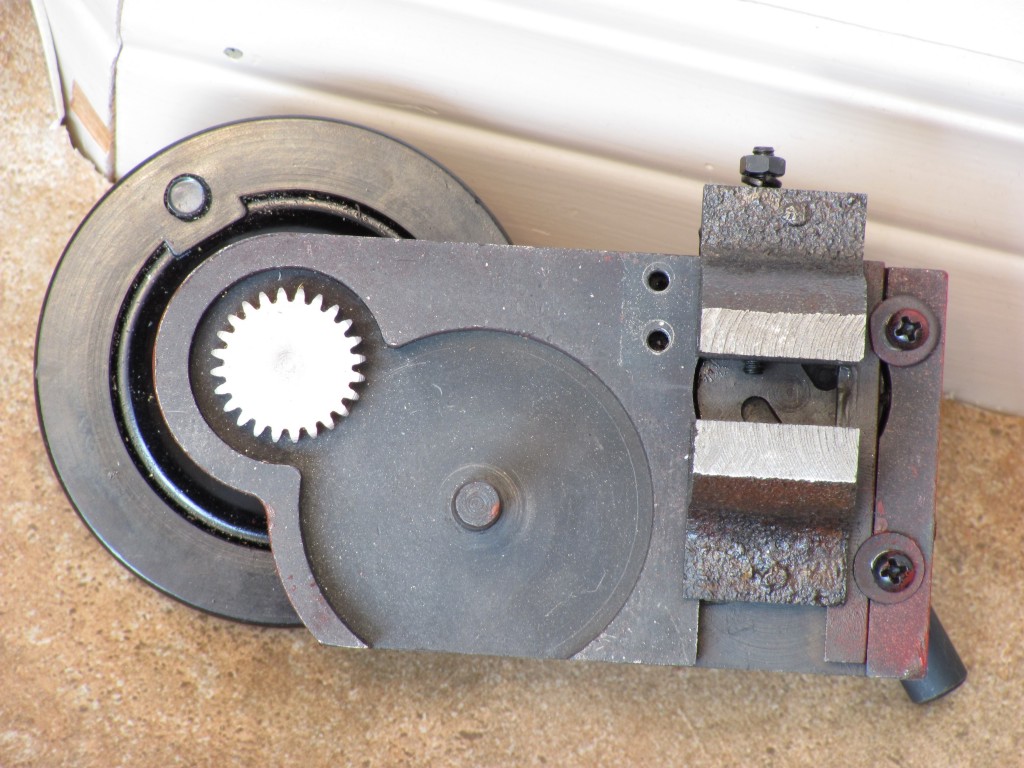
Photo for tracing outline
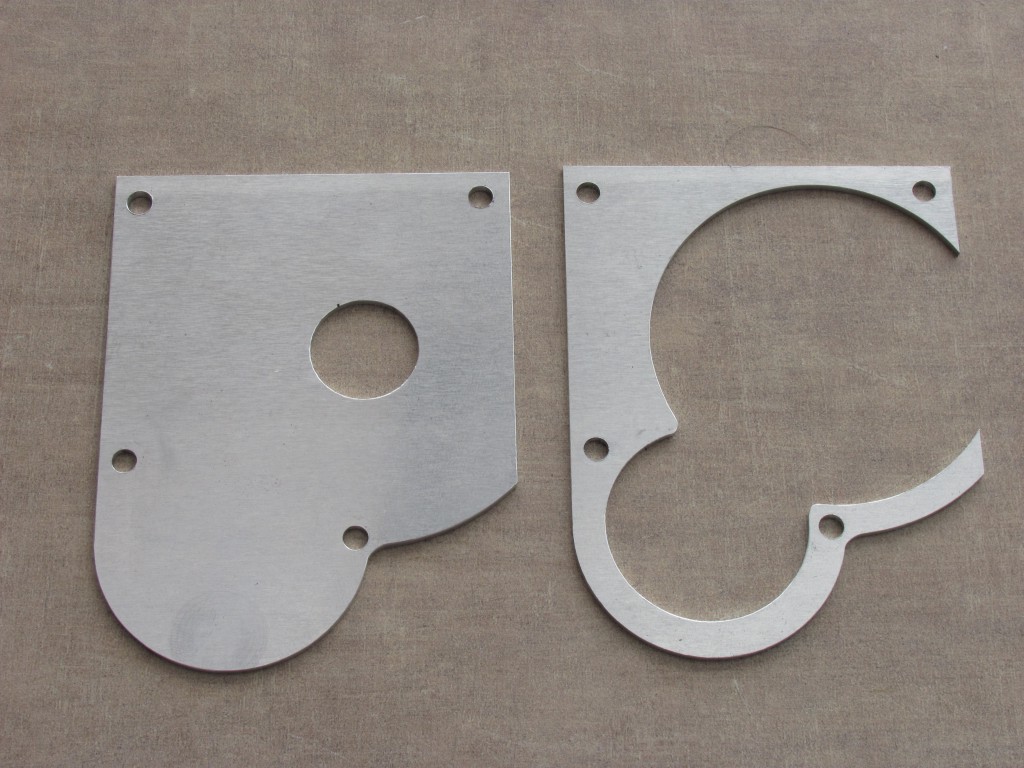
Aluminum spacer and cover
Holes drilled in apron
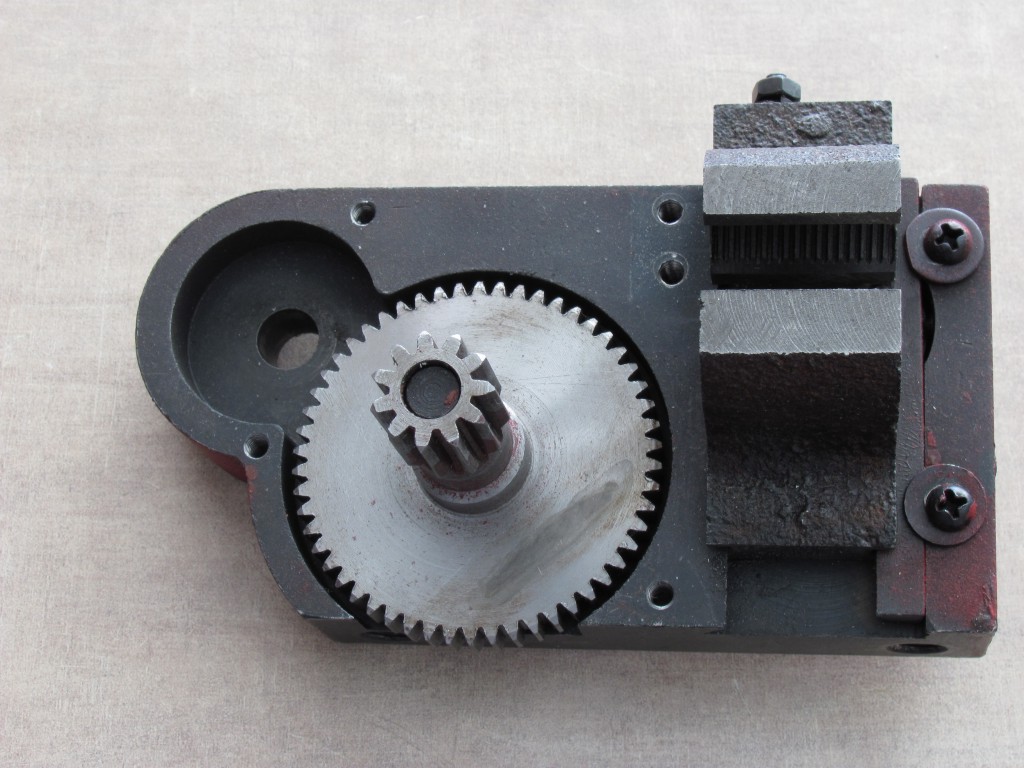
Spacer in place
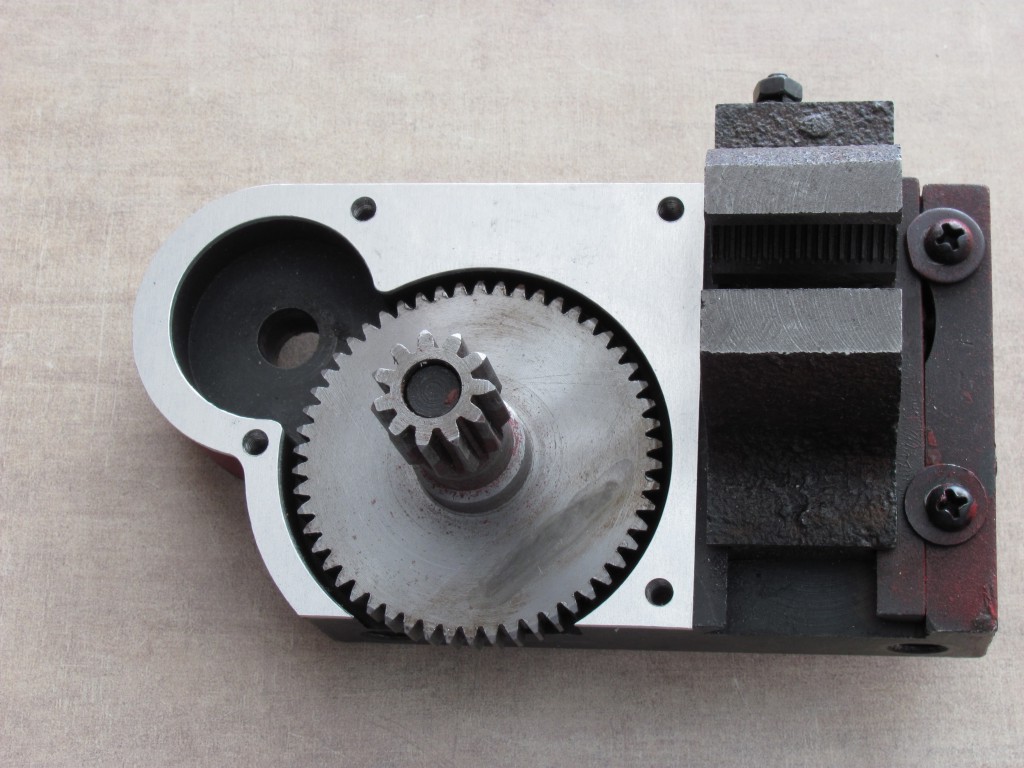
Cover in place
Oblique view
Installed

Spacer vector file

Cover vector file